The canopy rail on my S1T was not sliding back far enough. The container for my other canopy - the big, round, orange one - was rubbing against the forward edge as I got in and out. There was very little clearance.
One side rail seemed to stop while the other still had play. Disassembling, cleaning and reassembling the rail did not change things on my first try. It turns out there's a trick to reassembly that gives about three inches further travel.
The following will help with assembling the rail for maximum travel. You can also increase travel without removing the canopy. Place a small block of wood inside the rail in front of the canopy slide and tap lightly with a hammer toward the tail, alternating sides an inch at a time, until the canopy slides all of the way back.
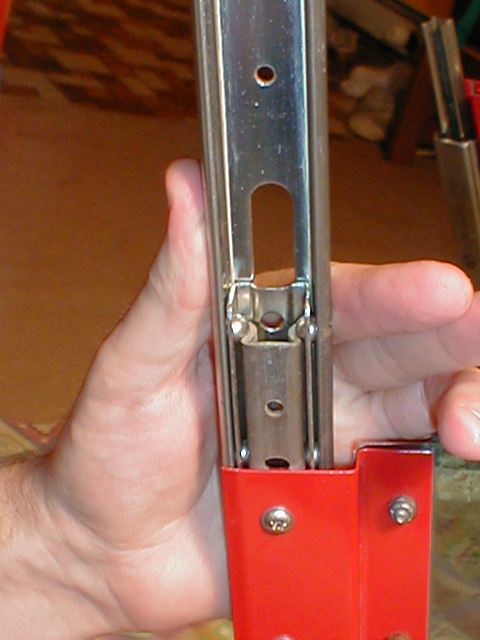
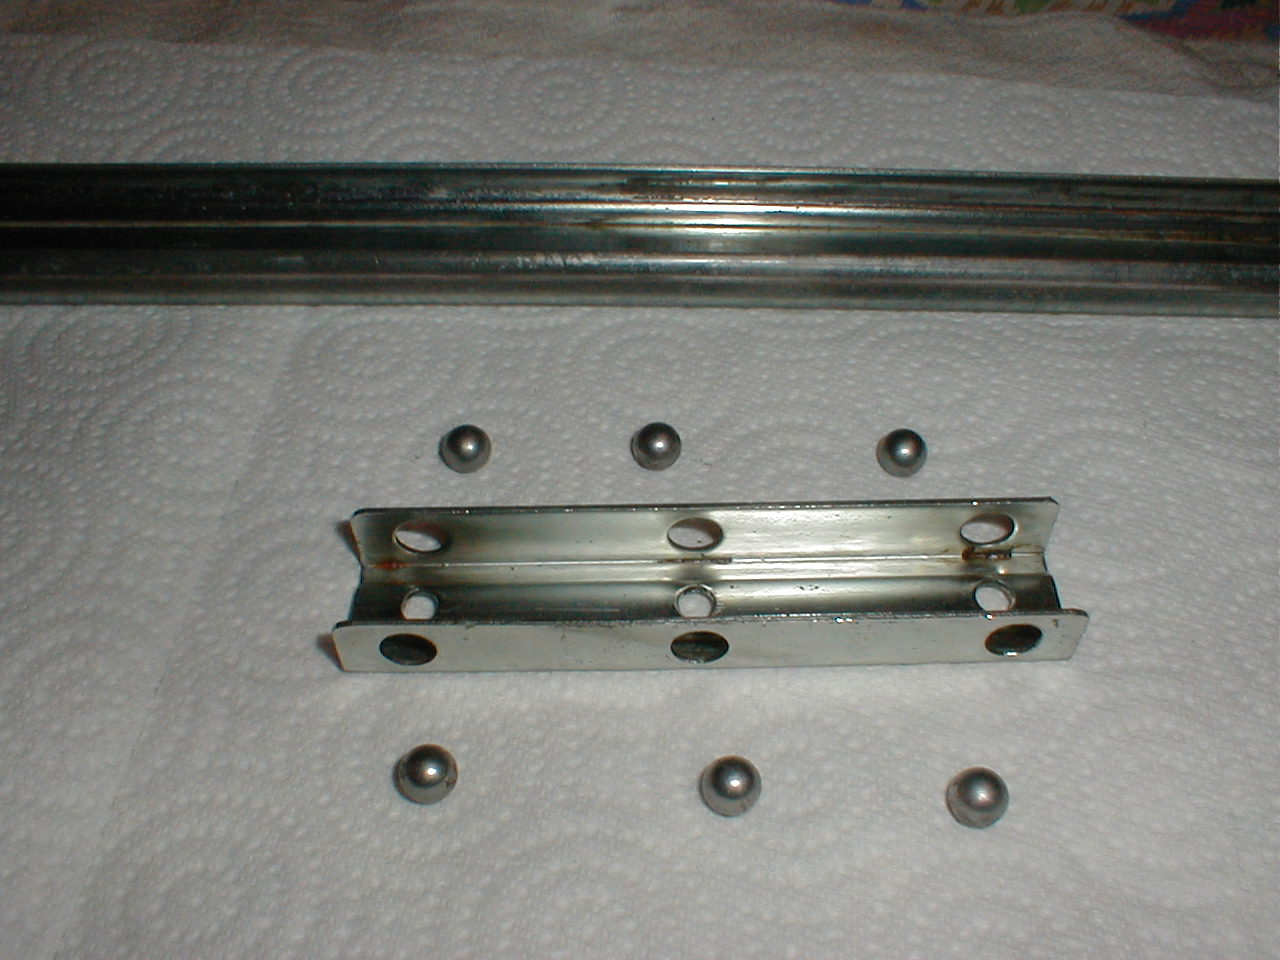
The first image shows a "truck" that slides back and forth between the outside and inside rails. The truck traps six ball bearings inside of the holes in its edges. It's very easy to roll the rail down over the truck during assembly; but, that gives the truck less distance to travel before it reaches the opposite end of the rail.
The trick is to force the truck down over the inside rail during assembly without moving it relative to the outside rail. The following images illustrate.
Here is the first pair of ball bearings assembled around the inside rail. Note that the end of the outside rail just covers the bearings. At this point, it's very easy to slide the outside rail and truck together down the inside rail.

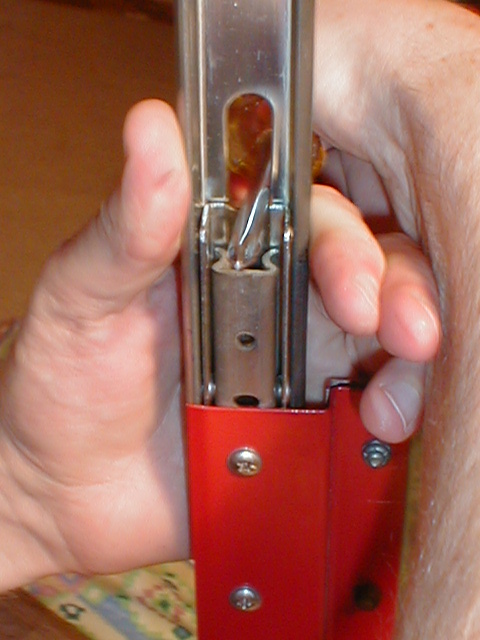
Slide the truck and outer rail together over the inner rail until the holes for the second set of bearings are just above the inner rail. Now insert the second set of bearings. Here's the trick.
The truck will no longer slide easily down the inner rail. It wants to roll onto the inner rail while rolling the opposite direction on the outer rail. Don't allow it to move. Use a screwdriver to force the truck down over the inner rail without moving the outer rail relative to the truck. The next image illustrates.

Use the screwdriver to force the truck down over the inner rail. Use your other hand to steady the outer rail. Keep the position of the outer rail stable relative to the truck.
You can click on the image for a slightly larger view. You're looking at the end of a screwdriver inserted through the hole in the outside rail from the back to apply downward pressure directly to the edge of the truck.
The truck is now positoned with the third set of holes just above the end of the inner rail.
Finish the assembly with the third set of holes even with the top of the inner rail. After adding these bearings the outer rail and the truck must roll onto the inner rail. No reasonable amount of force can hold the outer rail and the truck together as they move onto the inner rail. (But see note.) The outer rail will have to roll over the truck, which in turn rolls over the inner rail. The outer rail moves twice as fast as the truck.
Assembling the rail in this way gave me about three inches more travel in the canopy slide, leaving more room for entry and exit. This helps me avoid scraping the back of the parachute container on the forward edge of the canopy. It might also facilitate a quick exit should one ever be required.
A note from Niccolai Murphy:
"I did manage to tap the truck all the way in past the third set of bearings with a small hammer. Light taps easily overcame the static friction. In fact the force imparted was probably less than the steady applied force required to get the truck past the first two sets of bearings. Now the canopy opens until the bottom front edge of the canopy is almost at the same station as the turtle deck.
"Now that this has been done, there is no need to remove the windshield in order to remove the canopy."